Mold and bacteria lurk in every home but there are simple ways to keeps them at bay.
Mold and bacteria are nothing to be ashamed of. For the most part, we can coexist with these tiny organisms. After all, we’ve been doing so for hundreds of thousands of years.
“Problems occur,” says Caroline Blazovsky, healthy home expert and president of My Healthy Home, LLC, “when there are too many of them.” High levels of mold, she says, can lead to assorted ailments, including hay fever, allergies, asthma, and eczema. For people with suppressed immune systems, it can be worse.
Significant concentrations of bacteria, if ingested, can overcome your immune system and can cause abdominal cramping, diarrhea, fever, and even death.
“Pay attention to wet and damp areas of the home because mold and bacteria need moisture to survive,” says Blazovsky. “That’s why most household mold and bacteria are found in kitchens and bathrooms.” “But,” she adds, “moisture also collects in places we rarely think about.”
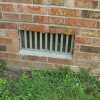
Blazovsky says to make sure to make sure basements are dry, and that flashing around windows and doors are properly installed to keep water to the outside your building envelope.
In addition to moisture, mold and bacteria need food. Regular cleaning eliminates food sources for mold and bacteria. Just be sure to use non-toxic cleaners. Otherwise, you’re simply solving one problem but creating a new one.
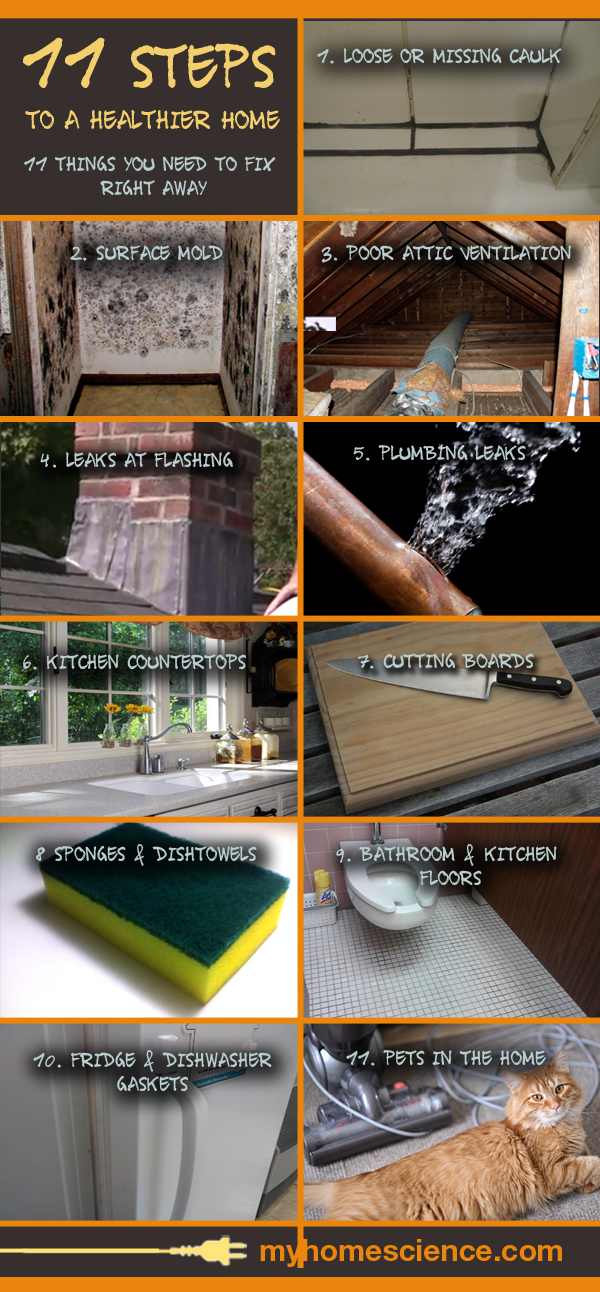
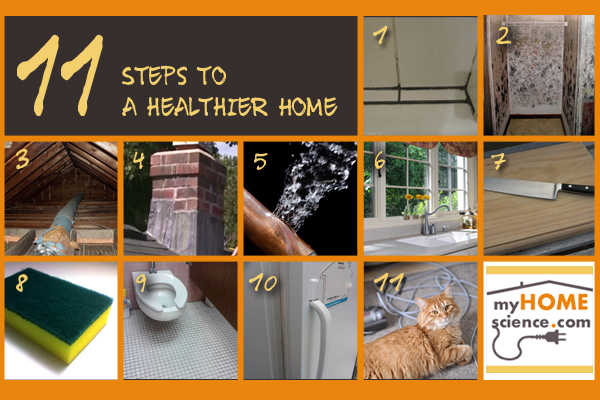
11 Steps to a Healthier Home
1. Loose or missing caulk and grout
In household areas that regularly get wet, there are critical joints that must be watertight. Some examples include between countertop and backsplash, around faucets and drains, between ceramic tiles, and at the junction between bathtubs and walls.
Caulk or grout serve as the first line of defense in keeping water from seeping into places where it can cause problems. Depending upon the severity of the leaks, you may not notice them right away. Eventually, however, a wet spot will appear on a wall or ceiling.
To stop these leaks, recaulk or regrout as appropriate. Dig out old caulk, rinse area with bleach to kill off mold spores, dry thoroughly, and apply new caulk. Masking both sides of the caulk line ensures a neat job. If the culprit is loose or missing grout between tiles, dig out the old grout to a depth of 1/8 in. and re-grout.
2. Surface buildup of mold
Sometimes mold is easy to see…too easy. Common trouble spots include around showers, on shower curtains, and at the bottom of closets. Mold in shower areas is relatively easy to prevent. Just get into the habit of running the bathroom vent for 15 or 20 minutes after showering or bathing. Don’t want to wait around that long? Install a timer.
If your bathroom doesn’t have a vent, open a window after bathing. Keep the shower liner closed, so water can evaporate from its surface; run it through the washing machine as needed and rehang to dry (don’t dry plastics in the dryer). Running a squeegee over shower walls is also a good way to reduce mold-inducing moisture. Ultimately, installing a vent is the best solution. Just be sure it’s vented to the outside, not into an attic.
For problem closets, improve ventilation with louvered doors. Run a dehumidifier in your basement during warm humid weather to reduce humidity levels throughout the house.
3. Insufficient attic ventilation
The attic is where much of the moist air in a house is expelled. It moves there due to what’s called the stack effect. Air is literally sucked upward through the house like a giant chimney. If attic ventilation is insufficient, high humidity can build throughout house causing mold and various types of damage to framing, insulation, and paint finishes.
To ensure sufficient attic ventilation, be sure that gable vents are open and that soffit vents are unobstructed by insulation. If your attic vent opening square footage is too small, increase it by adding soffit and ridge vents.
4. Leaks at flashing
Flashing, along with roof shingles and siding, is what keeps the rain from leaking into your house. Its job is to channel water away from penetrations, such as chimneys, vent stacks, dormers, skylights, windows, and doors. If it isn’t working properly because it wasn’t installed or was installed improperly, or if the roofing cement that is sometimes part of the flashing system has dried and cracked, water can enter walls and ceilings – and eventually give rise to mold and cause structural damage. If you suspect flashing problems, consult with a contractor to correct them immediately.
5. Plumbing leaks
Small plumbing leaks can support enormous populations of mold. Under-sink drain traps, for example, are common sources of leaks. You’ll know you have one when the base of the vanity cabinet becomes saturated and warped. The source is often a compression joint that has loosened with time.
If your drain is partially clogged, for example, the drainpipe’s compression joints may not be able to hold back the standing water. To fix, tighten or replace fittings and keep your drains free of clogs. If the drainpipes were poorly installed with inferior materials, replace them.
Shut-off valves often leak as well. Sometimes these leaks can be stopped by slightly backing off (turning clockwise) a valve that has been opened too far. Other times, you will have to replace the valve.
If you see water seeping from under a toilet, smell sewer gas, or if the flooring around a toilet feels spongy, it is likely that the wax ring that seals the toilet to the floor drain is broken. To make the repair, you will have to disassemble the toilet and replace the wax seal.
6. Kitchen countertops
Countertops can harbor bacteria and mold in seams, around the sink perimeter, around faucet mounts, at backsplash joints, and in the scratches that occur with daily use. In addition, some countertop materials, such as natural stone, wood, and tile, have pores or fissures that can harbor bacteria and mold. Non-porous materials, such as plastic laminates, quartz, and stainless steel, offer a less hospitable environment for bacteria, but can become contaminated, too.
More important than the material with which your countertop is made, however, is whether or not you clean it regularly. NSF International, The Public Health and Safety Company (www.nsf.org), advises homeowners to clean countertops with hot soapy water before preparing food and again after finishing food preparation. Spraying with white vinegar, followed by spraying with hydrogen peroxide, has also been shown to be an effective method for disinfecting food preparation surfaces. Steer clear of disinfectants that include pesticides among their ingredients.
7. Cutting boards
Cutting boards, like countertops, can harbor bacteria. Wash them thoroughly with hot soapy water after each use. The NSF recommends cutting boards made from nonporous materials, such as plastic. The FDA has mandated plastic cutting boards for commercial food service. But not everyone is sold on plastic. Knives can create relatively deep scratches in plastic, making the boards difficult to clean.
A study at the University of California at Davis Food Safety Laboratory suggests that wood actually decreases the likelihood of bacterial contamination in the kitchen. The researchers found that knife-scarred plastic cutting boards, on the other hand, were impossible to clean and disinfect by hand washing – although mechanical cleaning was effective with plastic boards that were small enough to fit inside the dishwasher. Scratches in wood boards were self-healing according to the researchers and less likely to harbor bacteria after manual cleaning.
What to do? Use whichever board type you prefer, but toss plastic cutting boards once they get rough and scarred. Resurface old wood boards with a thickness planer or by sanding with progressively finer grit sheets of sandpaper. If joints in a wood cutting board have begun to separate, or if cracks develop, replace it.
8. Kitchen sponges and dishtowels
Sponges are perfect breeding grounds for bacteria. They’re nearly always moist and contain tiny morsels of food. Disinfect sponges regularly by boiling them for 5 minutes. Ditto for scouring pads and scrub brushes. Sponges can also be disinfected by microwaving them on the high setting, while wet, for one minute. Running sponges through the dishwasher is not sufficient to kill all bacteria. Or, use dishtowels instead, and launder them with hot water regularly.
9. Kitchen and bathroom floors
Floors can harbor mold and bacteria, especially if you have pets and wear your street shoes in the house. Ensure sanitary floors, especially if you have young children, by adopting a shoes-off policy in the house. Train dogs to stop at the door where you can wipe their feet with a rag. Sweep and wash floors regularly.
Jill Potvin Schoff, author of Green Up Your Cleanup, says for light jobs, rinse with a vinegar-water solution and wipe dry. For tougher jobs, she recommends a mix of 1 gallon of hot water, 1 tablespoon of baking soda and 2 tablespoons of liquid soap or detergent. Add 1 tablespoon of washing soda if you have to remove heavy grease. Or, use a commercial non-toxic floor cleaner.
If you vacuum, use one with a HEPA filter to be sure you capture tiny allergens, such as pollen and dust mite feces, says Schoff. And be sure that baseboards fit tightly against the floor. Fill any sizeable gaps with caulk
10. Gaskets around fridge and dishwasher
Mold and bacteria prefer dark corners and crevices. Scrub gaskets around refrigerator and freezer door and around the dishwasher with a toothbrush and a paste made of baking soda and water. Rinse with a solution of vinegar and water. If there is mildew inside your dishwasher, the water supply may not be hot enough. Raise it to 120 degrees F or to the setting recommended by the manufacturer.
While you’re at it, run the dishwasher (empty) with a cup of baking soda in the dispenser instead of detergent. It will deodorize any lingering odors due to mold or bacteria.
11. Pets in the home
As much joy and companionship as pets bring us, they can also be the source of unwanted bacteria. When your pet has an accident, disinfect the area after cleaning. A quick and easy way to do this is by placing a sprayer pump directly on a bottle of hydrogen peroxide. Then spray the affected area and allow it to sit for several minutes to kill the bacteria. Allow to dry.
Blazovsky says that pets that are allowed outdoors can also bring in these bacteria especially when they roll in soil in which many of these microorganisms are found. “In general,” she says, “bacteria are not harmful, but can cause a problem when associated with a specific strain or heavy contamination.
Hand washing is extremely important, especially around food and with pets in the home.”
If, you still feel your home needs help, or if some family members are particularly sensitive to mold, test the air in your home. Caroline Blazovsky recommends the purchase of an Examinair test kit. It allows you to sample air in several locations inside and outside your house. Samples are then mailed to a laboratory for analysis. Healthy home experts can then help you track the levels and sources of contamination and suggest ways to remediate.
Meanwhile, follow these 11 simple steps to improve the health of your home for you and your family!



The initial step, that any mold remediation company will take is spraying the arewa using a biocide.
You are able to usually see them around washing and drying machines also.
My brother suggested I might like this website. He was totally right.
This post truly made my day. You can not imagine simply how much time I had spent for this information!
Thanks!
So happy we can help.